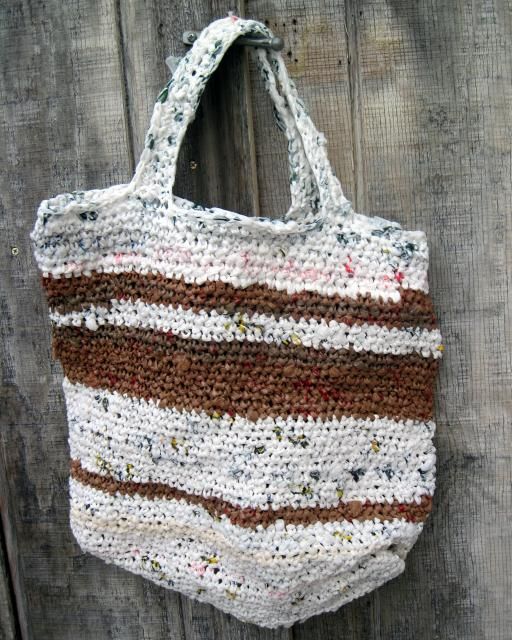
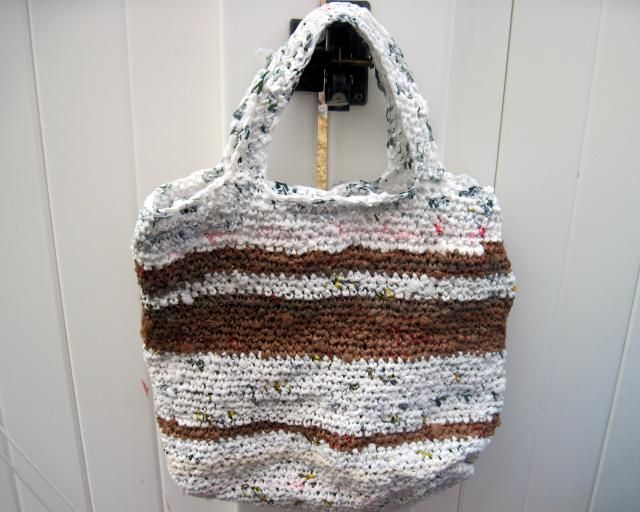
Knowing that she would need something in which to carry them, I decided that I'd try my hand (literally-ha ha) at making her a scripture carrier.
Here's what I eventually came up with:
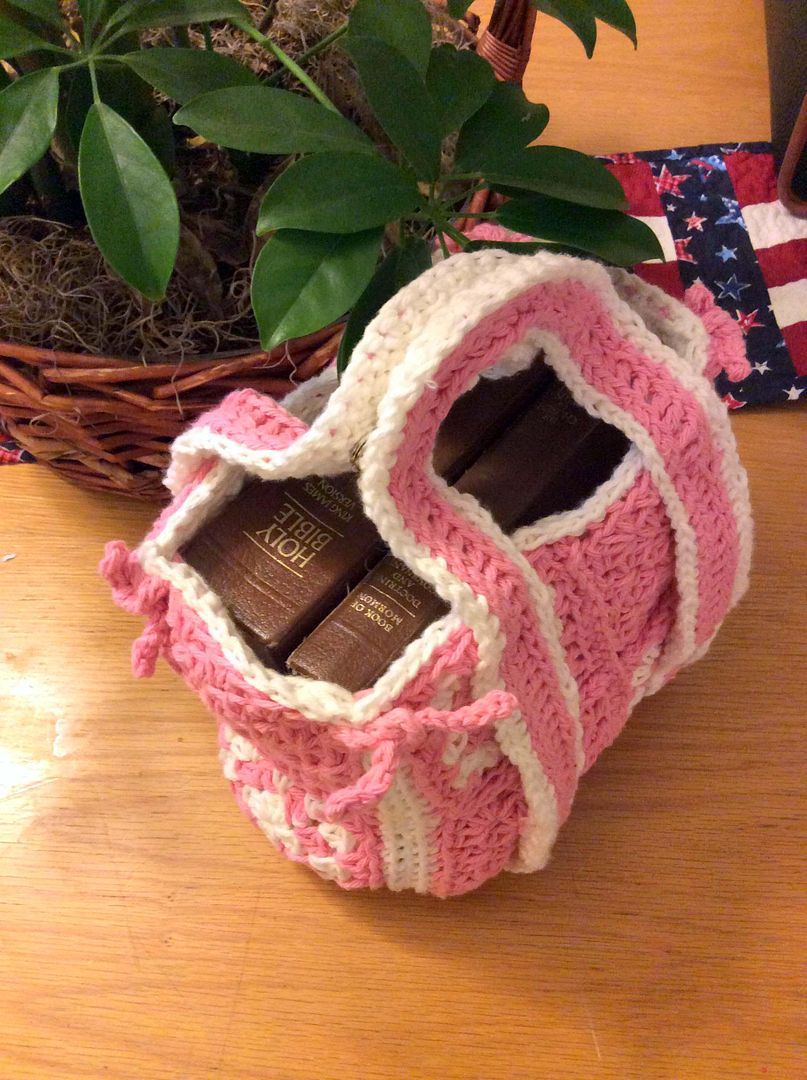
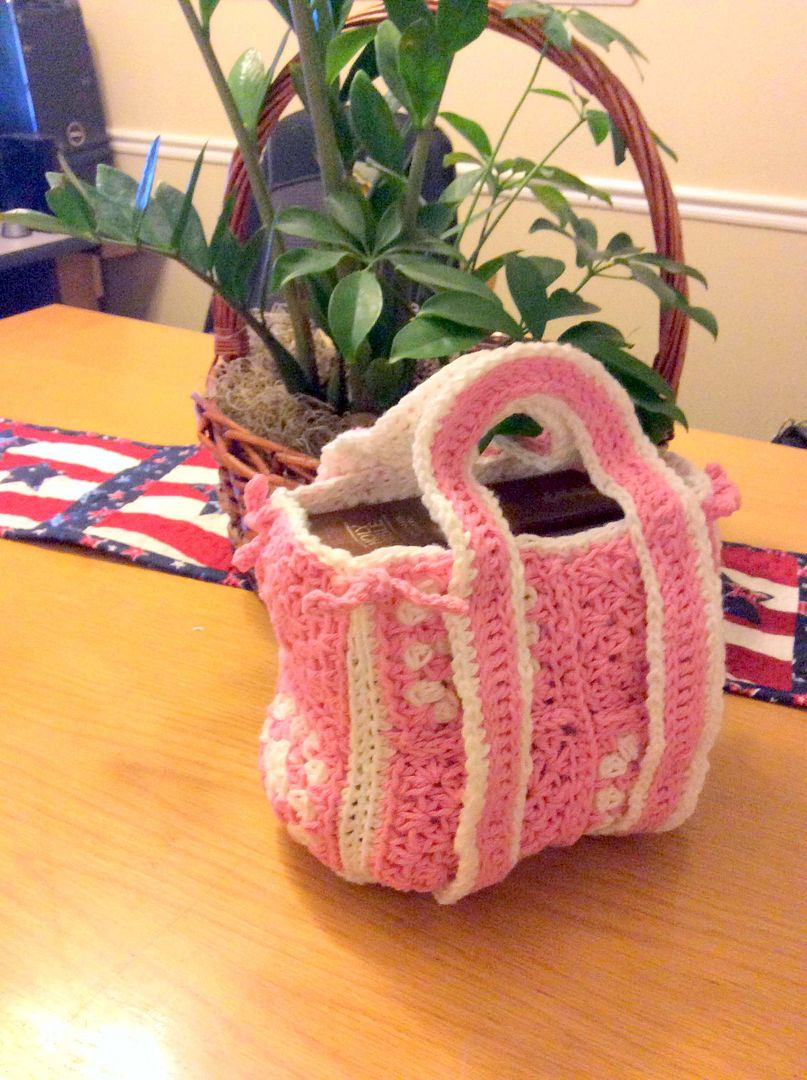
SCRIPTURE CARRIER
Use size G hook and cotton yarn
Granny Square, make 14
Chain 4 and join in a circle, then using hdc, and two-stitch "shells"' with one ch in between each one, make 4 rows, one with 4 shells, one with 8, one with 12, and one with sixteen. Finish off.
Stitch or sc squares together in panels, three panels of two squares each and two panels of four squares each.
Lining
For each panel, make a corresponding swatch of the same size, using sc rows, bordered with one round of sc. When complete, sc each lining swatch to corresponding square panel.
Assembly
Use the three 2-square panels as bottom, and side panels of bag. Use the two 4-square panels as front and back of bag. Sew all panels together in this manner. To "square up" top corners, use ribbon, rope, or chain/sl st "ropes", and run a small piece through the top of each corner, securing each with a know or a bow.
Carry Strap
Switch to size F hook.
Ch 200, being careful not to twist ch, join.
Rnd 1, sc in each chain, join, ch 3
Rnd 2, dc in each chain, join, ch 2
Rnd 3, sc in each dc, join.
Rnd 4, sl st in each sc around, join, fasten off
Join yarn in any foundation chain, sl st in each ch around, join, fasten off.
Make lining (strengthener) for strap using sc in rows and borders as with panels. Sc to strap.
Secure strap to bag by placing in long skinny oval across bottom of bag, and bringing sides up to form handles. Tack in place on bottom, and at top and bottom of front and back panels.
Strengthener of bottom panel
Cut a piece of thick cardboard to the dimensions of the inside bottom panel of bag. Using sc, crochet a "cozy" around cardboard, sewing up,both ends with cardboard inside. Place in bottom of bag.
Add snaps, buttons, zippers, and other embellishments as desired.